The Music Producer
Composing is just remembering a tune that no one else has thought of yet.
Music Producer vs. Music Production:
Understanding the DistinctionWhile closely intertwined, a music producer and music production represent two distinct pillars of the music industry. Simply put: the producer is the creative driving force, while the production is the meticulous process and the final sonic result.
In an era where software accessibility allows anyone to claim the title of producer, true distinction comes down to expertise, continuous learning, and formal mastery. Holding a professional degree in this field provides a foundational edge, yet the real artistry lies in a lifelong commitment to evolving with new acoustic landscapes, advanced software, and cutting-edge VSTs.1.
1. The Music Producer (The Visionary)
The music producer serves as the creative and technical director of a project, responsible for shaping the definitive sonic identity of a track or album.
Core Responsibilities: Guiding artistic direction, mentoring vocalists, arranging instrumentation, programming beats within a DAW, and overseeing audio engineering.
The Role: Ranges from acting as an "invisible band member" to managing session musicians and project workflows.
Industry Terms: Often overlaps with roles like record producer, beatmaker (in Hip-Hop/EDM), or sound engineer.
2. Music Production (The Execution & Artifact)Music production encompasses the entire lifecycle of a musical project, transforming a raw concept into a commercial-grade master.
The Lifecycle: Spans songwriting, arrangement, tracking, digital editing, mixing, and mastering.Electronic Production: The specialized art of constructing complete soundscapes entirely through software, synthesizers, and Digital Audio Workstations.
The Creative Linchpin
Ultimate success in music creation requires a bridge between technical precision and artistic intuition. A professional producer handles everything from initial concept to promotion, leveraging deep knowledge of music theory and audio technology to shape the musical landscape of tomorrow.
For making my own music I use standard loops and/or create my self homemade loops, either using my own instruments or created with Cubase Pro 15, WaveLab 13, FL Studio 21 software.
I also use live vocals (Not AI). For the vocals, I do the lead-in singing (in a demo) as the melody should be in the piece. I don’t do the actual vocals, because I don’t sing in tune and ultimately leave it to the singer’s vocal skills. Where necessary I adjust the vocals with Cubase or FL Studio.
Most of what I describe further below comes from my studies as “Music Producer”.
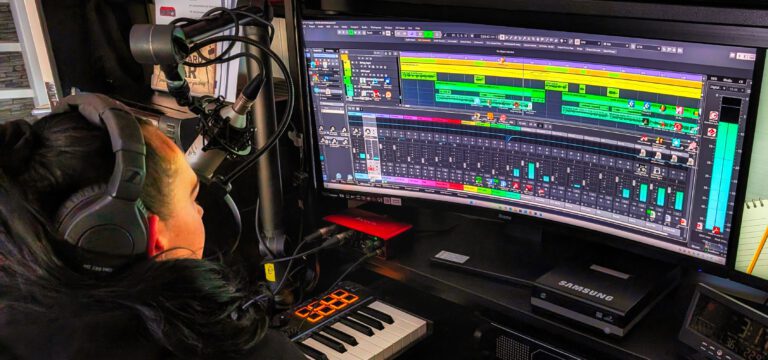
The Core Production Environment: DAWs & MIDI Integration.
A Digital Audio Workstation (DAW) is the centralized software ecosystem that functions as a high-performance digital recording studio.
It handles multi-track recording, precision editing, complex signal routing, mixing, and mastering, replacing traditional hardware consoles with advanced virtual environments.
Core Functionalities of a DAWMulti-Track Audio Tracking:
Capturing high-fidelity vocals and acoustic instruments via an external audio interface.
MIDI Sequencing & Composing:
Structuring musical arrangements utilizing Virtual Instruments (VSTi) and digital control data.
Non-Destructive Editing:
Slicing, time-stretching, pitch-correction, and manipulating audio waveforms without degrading the original file.
Mixing & Post-Production:
Balancing frequency spectrums, managing dynamics, and applying spatial effects to render a broadcast-ready master.
Understanding MIDI (Musical Instrument Digital Interface)
Established as the global industry standard in 1983, MIDI is a universal protocol enabling electronic instruments, computers, and software to synchronize and communicate. Unlike audio files, MIDI transmits low-latency control data.
Data Architecture:
It contains zero acoustic sound. Instead, it transmits performance instructions including note number, pitch, duration, and velocity.
Production Flexibility:
Captured MIDI notes remain fully editable, allowing producers to alter arrangement quantization, pitch, or the entire virtual instrument patch post-recording.
Hardware Integration:
Connects modern synthesizers, controllers, and drum machines seamlessly via USB-MIDI or legacy 5-pin DIN connections.Studio Infrastructure & Toolset.
My engineering workflow relies on a curated selection of industry-grade software and hardware, optimized for specific stages of production:
Steinberg Cubase 15: My primary host application for advanced multi-track sequencing, orchestration, and vocal editing.
FL Studio: Utilized selectively for rapid beat-programming, pattern-based arrangement, and electronic sound design.
Steinberg WaveLab 13: The dedicated surgical environment for final audio mastering, restoration, and analytical metering.
Hardware Interface: Driven by the Focusrite Scarlett 2i2 audio interface, ensuring pristine pre-amplification and high-resolution A/D conversion.
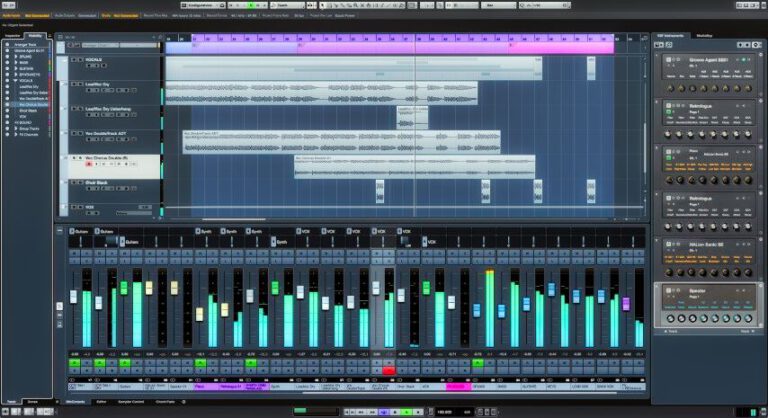
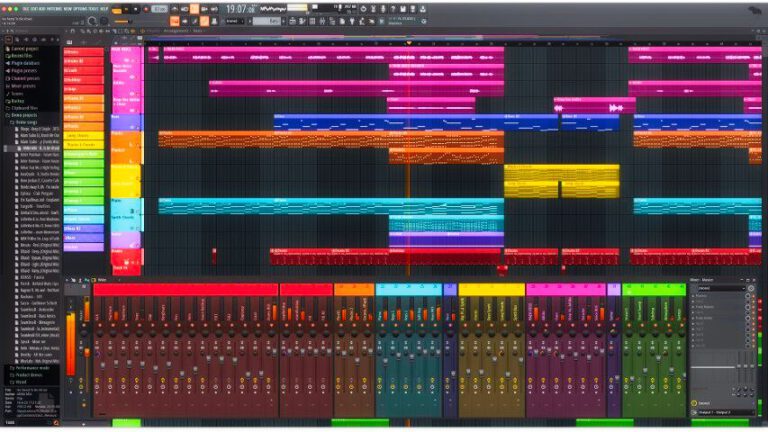
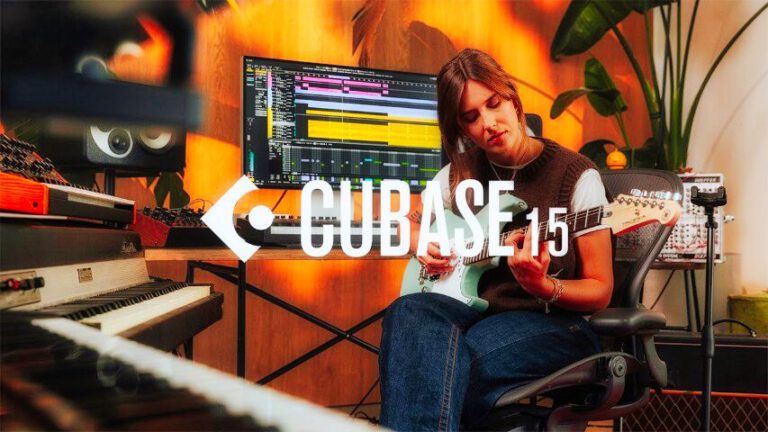
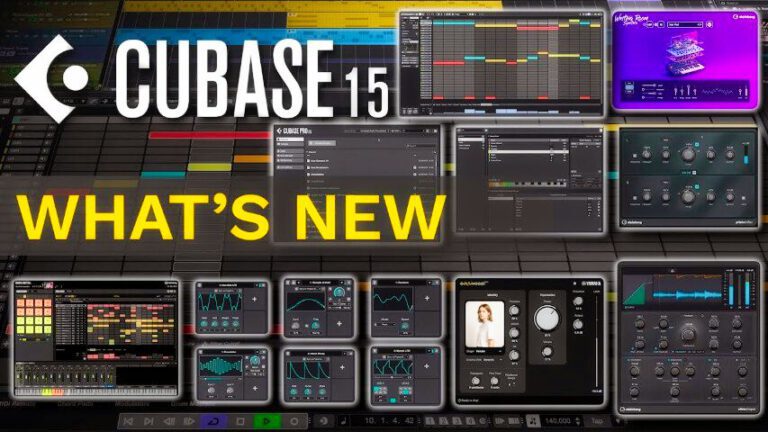
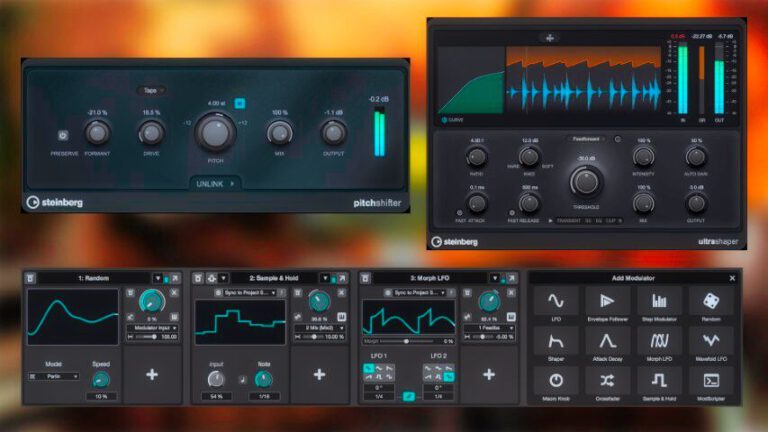
The biggest difference between Cubase and FL Studio lies in their workflows: Cubase has a traditional, linear approach, ideal for recording and mixing, with a steeper learning curve, while FL Studio has a pattern-based, visual workflow that excels in electronic music (EDM, hip-hop) and is easier for beginners.
Cubase is an all-around DAW for live recording, film scores,
and more, while FL Studio’s strength lies in loop- and sample-based production
and beat creation.
Cubase Workflow: Linear, traditional, excellent for recording and editing
live audio, vocals, and instruments.
Target Audience: Composers, live band recording, film scores,
professionals looking for a complete suite.
Interface: Extensive, professional, can be complex at first.
Power: Versatile, powerful mixing and editing tools, the studio
standard for many professionals.
FL Studio Workflow: Pattern-based, visual, flow-based, ideal for rapid idea
generation.
Target audience: Electronic music producers (EDM, Hip-Hop),
beginners, beatmakers.
Interface: Intuitive, easy to learn, visually appealing.
Strengths: Beat making, loops, MIDI sequencing, excellent for
electronic genres, known from major EDM artists.
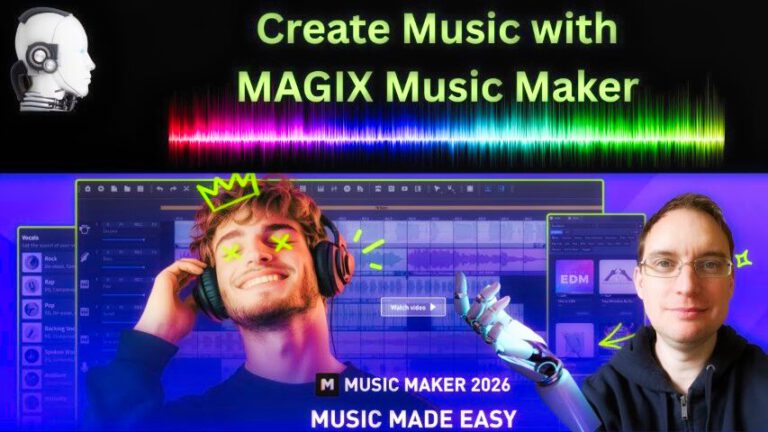
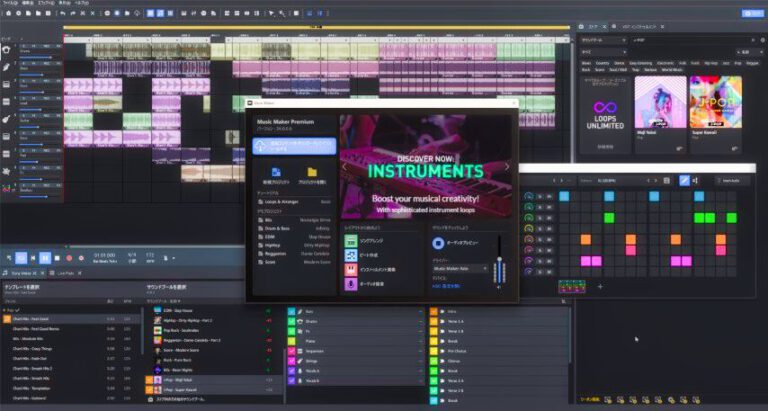
Magix Music Maker is an easy-to-use, loop-based music software ideal for beginners and hobbyists, with an intuitive drag-and-drop interface, many built-in loops, and VST support. However, it’s less powerful than professional DAWs and can sometimes suffer from bugs and a limited mixer, although the “AI Song Maker” is a nice addition.
The software is a good choice for those who want to quickly make a beat without a steep learning curve, with a free basic version to try.

Myself I use Cubase 15 (Steinberg) and Wavelab 13. Why?......
First of all, this was a requirement when I started this course. Using and applying Cubase isn't easy and is quite complex, but...Cubase is one of the most comprehensive and established Digital Audio Workstations (DAWs) on the market. Use Cubase as your DAW if you’re looking for an all-in-one solution for professional music production, composition, and audio editing, especially in a studio environment. It’s known for its “traditional” console workflow and excellent performance on Windows and macOS.
Here are the specific scenarios when choosing Cubase:
Complex Composition & MIDI Work: Cubase is excellent for composing,
especially for film scores or orchestral productions.
It’s widely used by professionals for its advanced MIDI
editing features, Chord Track, and ability to easily work with large orchestral
libraries.
World-Class Audio Recording and Editing: For recording bands, vocalists, or
editing complex projects with many tracks. Features like AudioWarp (time
correction), VariAudio (pitch correction, similar to Melodyne), and advanced
comping tools (merging takes) make it a powerhouse for audio production.
Professional Mixing: Cubase’s comprehensive internal mixer offers an analog
feel with powerful built-in channel strips, Control Room functions for monitor
mixes, and Dolby Atmos mixing capability in the Pro version.
Sound Design & VST Instruments: Cubase comes with high-quality virtual
instruments (such as HALion Sonic, Padshop, Retrologue) and seamlessly supports
VST plugins. Post-production & Film: For composing and mixing audio for
video, thanks in part to the strong integration with video tracks and the
ability to create complex routings.
Take a course or training: Consider a music program at a conservatory (HKU, Codarts, ArtEZ) for a thorough technical and creative foundation. Shorter intensive courses at schools like The Producer Academy are also good options. See Below my Education Program (*).
Develop technical skills: Learn the tricks of the trade: theory, (synthesizer) sound design, recording techniques, mixing, and mastering.
Create your own sound: Work hard on your own tracks and develop a recognizable style to stand out in the music industry.
Networking and entrepreneurship: Music production is an entrepreneurial profession. Learn how to present yourself, build a network with other musicians and labels, and be active in the scene.
Self-study: Use online tutorials (YouTube) to learn specific techniques. There’s a wealth of (mostly free) resources available in this area.
Quality trumps quantity. It’s better to focus on producing five to ten truly great tracks instead of tons of mediocre ones. Show diversity by including the following:
- Different genres to demonstrate versatility
- Both vocal and instrumental productions
- Collaborations
that demonstrate the ability to work with artists, see below.
Before-and-after examples that highlight mixing skills.
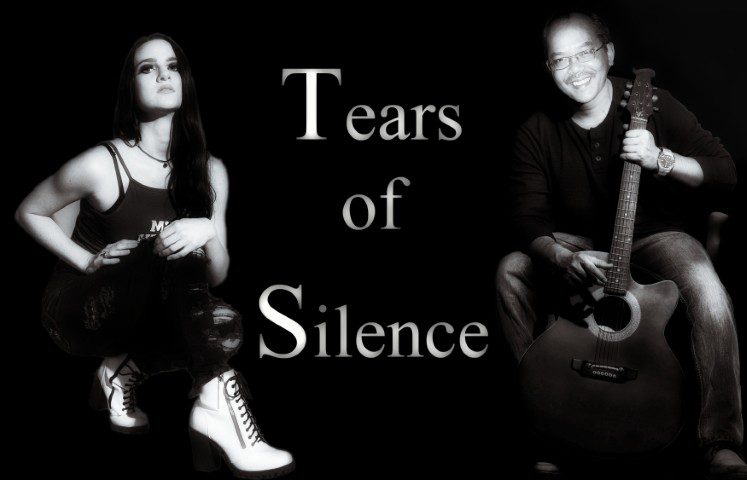
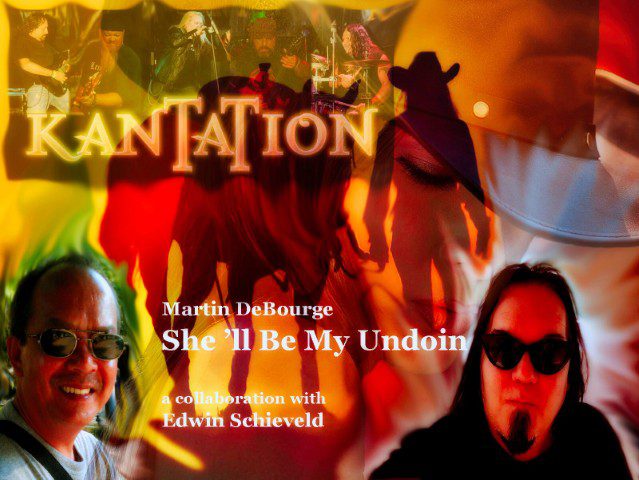
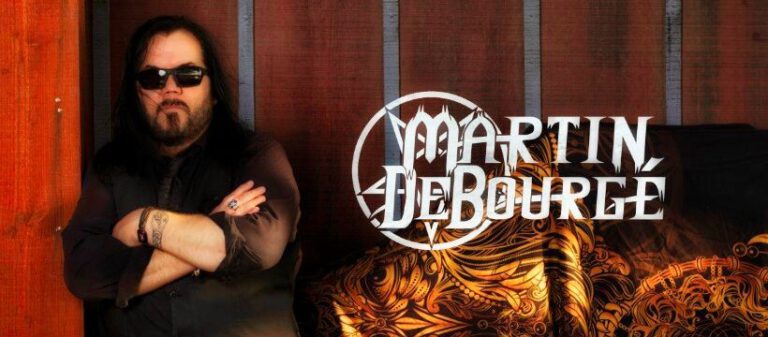
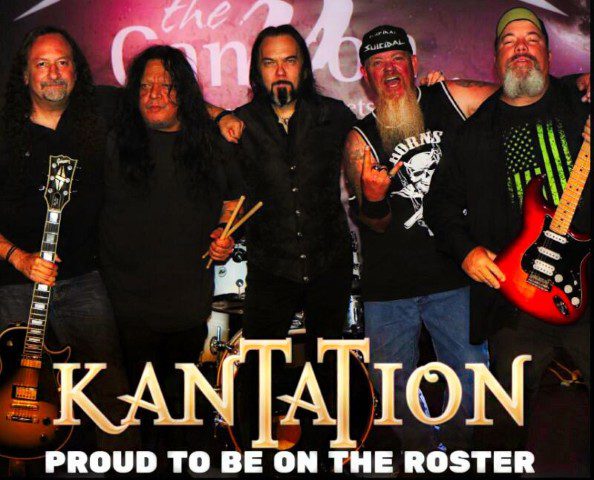
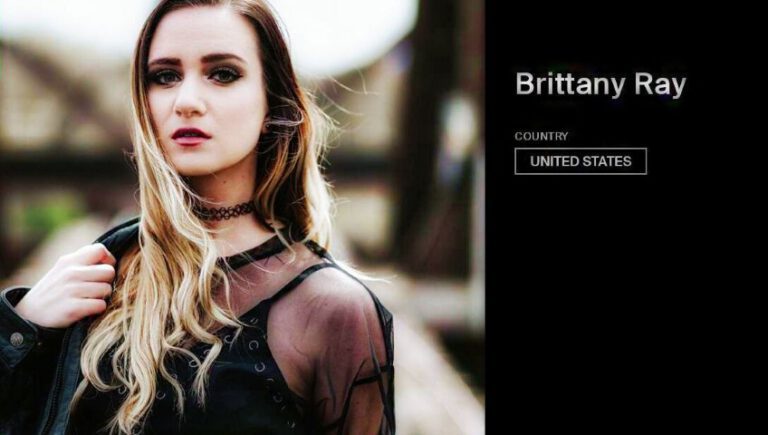
I have made a couple of songs in collaboration with Martin deBourge & Heavy Metal Band 'Kantation' from California USA and Brittany Ray from Country Music city Nashville USA.
EDUCATION MUSIC PRODUCER:
1. The candidate is familiar with the work of well-known music producers.
2. The candidate plays at least one instrument fluently (optional, but strongly preferred).
3. The candidate is aware of the influence of technical developments on the work of a music producer and is able to apply these in their work as a music producer.
4. The candidate is familiar with sound theory and is able to prevent or resolve any problems in this area.
5. The candidate knows which equipment is necessary for making a music recording and how to operate and connect the devices.
6. The candidate knows which recording techniques are possible and how they can best be applied.
7. The candidate is able to install Cubase and start projects, using techniques such as loading files, looping, and mixing.
8. The candidate knows what MIDI is and how it works in
Cubase.
9. The candidate is able to produce their own music
(using a PC).
10. The candidate is able to make music recordings (using a PC).
11. The candidate is able to set up and operate a (small home) studio (using a PC).
12. The candidate is able to edit audio fragments (using a PC).
13. The candidate is able to arrange music into a song (using a PC).
14. The candidate is able to work with (virtual) effects (using a PC).
15. The candidate is able to work with (virtual) synthesizers and samplers (VST/VSTi) (using a PC).
16. The candidate is able to create a final mix (using a PC).
17. The student has knowledge of music theory.. The student has knowledge of the music business (copyright, record labels, organizations, and self-management options).
WaveLab Pro 13.
is not a traditional DAW… and once you understand how it works, everything about your finishing process becomes faster, more precise, and more professional.
1 — Understanding the WaveLab Workflow
- How WaveLab differs from a traditional DAW
- Workspace layout and key panels
- Audio Editor vs Audio Montage workflows
- Destructive vs non-destructive processing
- Master
Section overview and signal flow basics
2 — Audio File Editing & Precision Tools
- Navigating and zooming for detailed editing
- Creating precise selections and working with ranges
- Core editing tools: gain, fades, and normalization
- Spectral editing for targeted repair work
- Click/pop removal and restoration workflow
3 — The Audio Montage (Core of WaveLab)
- Creating and organizing a montage project
- Working with clips, tracks, and arrangement
- Clip envelopes for volume and panning
- Clip, track, and output processing workflows
- Reference tracks and A/B comparison
4 — Master Section & Processing Architecture
- Master Section layout and signal flow
- Building and organizing plugin chains
- Processing order and its impact on sound
- Monitoring levels and avoiding clipping
- Dithering and final output preparation
5 — Mastering with MasterRig & Built-in Plugins
- Navigating the MasterRig interface
- EQ techniques for tonal shaping
- Multiband compression for dynamic control
- Using saturation to enhance character
- Limiting for final loudness and peak control
6 — Loudness Metering & Analysis
- Peak vs loudness metering fundamentals
- Using LUFS for streaming targets
- Frequency and spectrum analysis tools
- Stereo imaging and phase monitoring
- Loudness matching for accurate comparisons
7 — Batch Processing & Automation
- Setting up batch workflows for multiple files
- Building consistent processing chains
- Output settings and file format control
- Running automated batch jobs
- Using Watch Folders for hands-off processing
8 — Metadata, Rendering & Delivery
- Rendering audio for final output
- Choosing formats, bit depth, and quality settings
- Preparing the Master Section for export
- Adding metadata and track information
- Creating professional deliverables (DDP, multiple formats)
9 — Dolby Atmos & Immersive Audio
- Working with Dolby Atmos Master Montages
- Importing and managing ADM files
- Understanding beds vs object-based audio
- Organizing and processing immersive elements
- Applying mastering techniques in a spatial mix
10 — The Dolby Atmos Album
- Building and organizing an album montage
- Sequencing tracks and managing transitions
- Applying global processing across the album
- Maintaining loudness consistency between tracks
- Rendering a complete immersive album
11 — Advanced Workflow & Integration
- Preparing mixes for mastering in WaveLab
- Round-trip workflows with Cubase and external tools
- Managing alternate versions and deliverables
- Using projects, montages, and batch tools together
- Archiving and organizing professional sessions
12 — Pro Techniques & Hidden Features
- Moving from basic to professional mastering workflows
- Advanced clip-level processing techniques
- Using processing hierarchy for better results
- Precision editing with fades and envelopes
- Building templates and repeatable workflows